
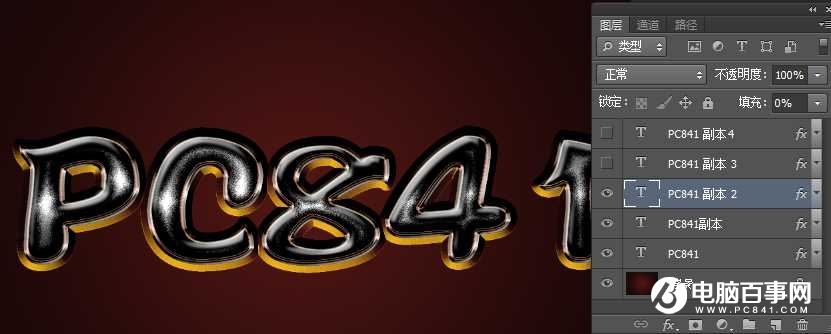
6、确定后把填充改为0%,如下图。
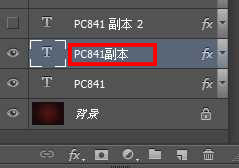
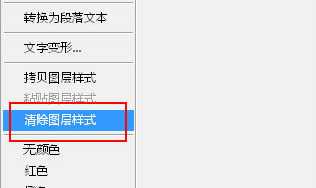
7、按Ctrl + J 把当前文字图层复制一层,得到文字副本图层,然后在图层面板文字副本缩略图后面的蓝色区域右键,在弹出的菜单选择“清除图层样式”。

8、同样的方法给当前文字图层设置图层样式。
斜面和浮雕:
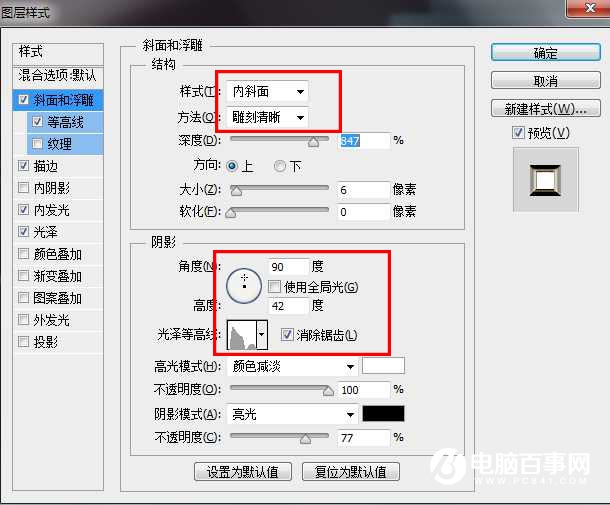
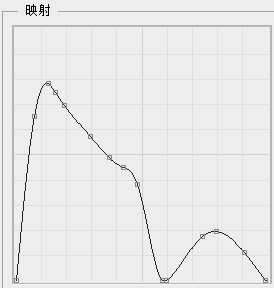
等高线:
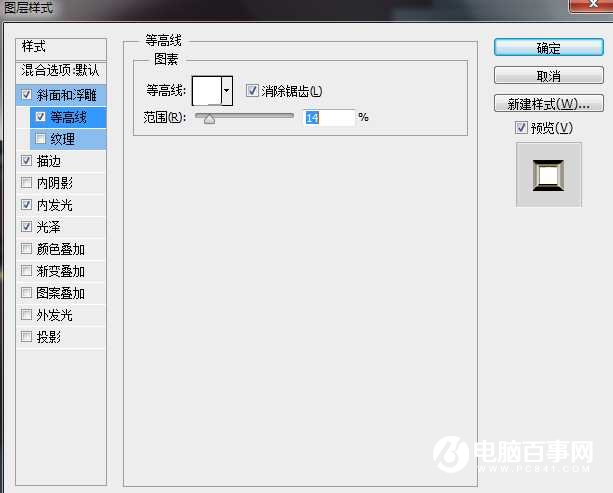
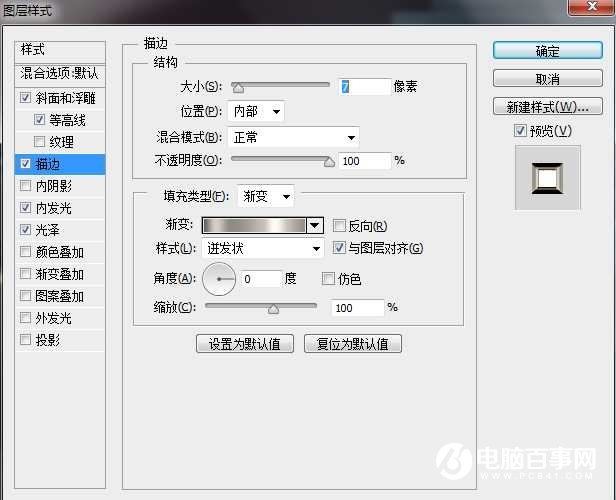
描边:

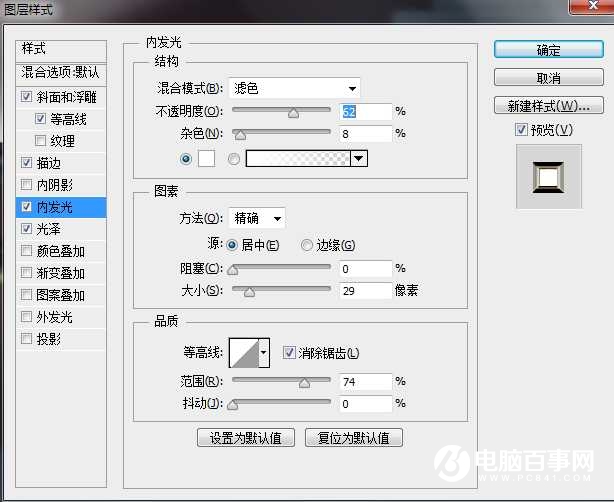
内发光:
光泽:
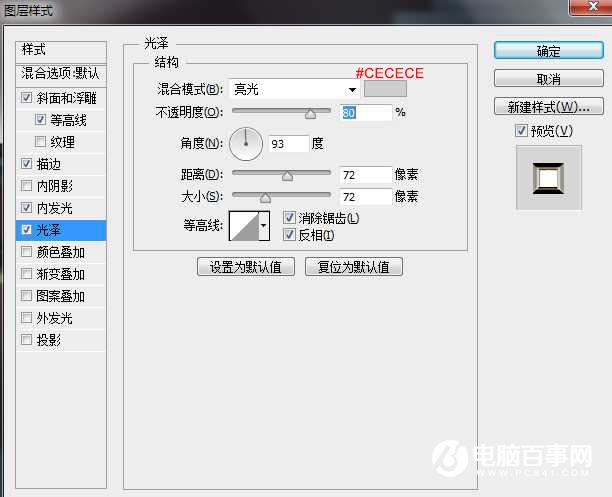
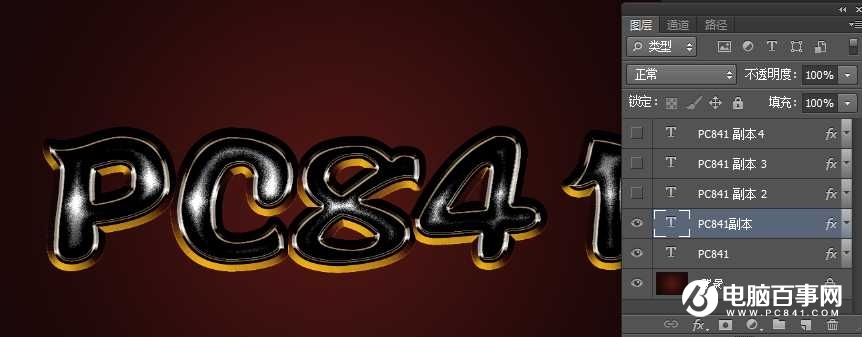
9、确定后得到下图所示的效果。
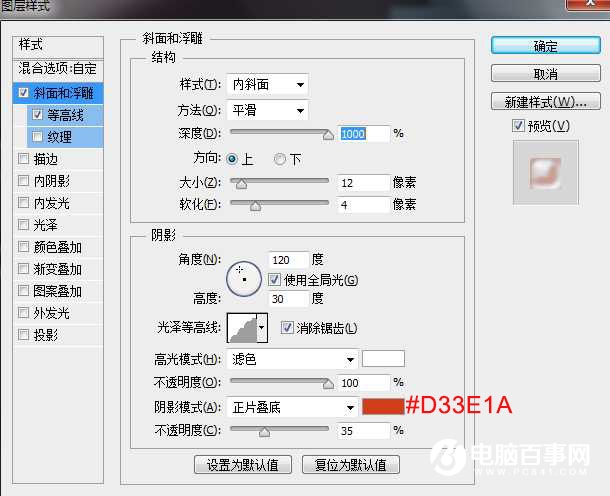
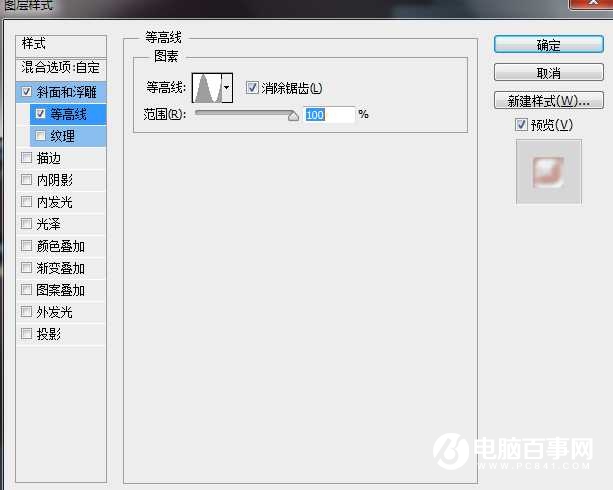
10、按Ctrl + J 把当前文字图层复制一层,清除图层样式后再重新设置。
斜面和浮雕:
等高线:
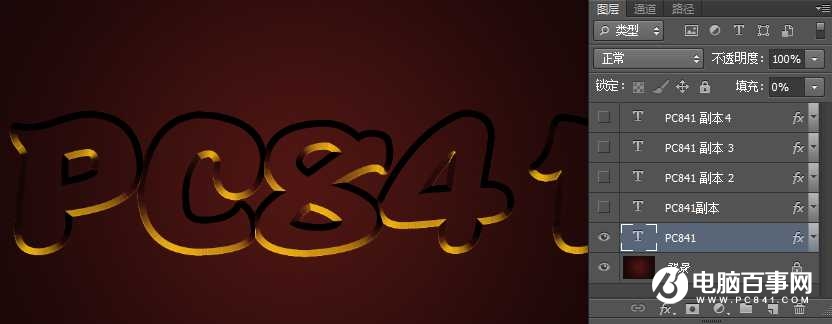
11、确定后把填充改为0%,效果如下图。
6、确定后把填充改为0%,如下图。
7、按Ctrl + J 把当前文字图层复制一层,得到文字副本图层,然后在图层面板文字副本缩略图后面的蓝色区域右键,在弹出的菜单选择“清除图层样式”。
8、同样的方法给当前文字图层设置图层样式。
斜面和浮雕:
等高线:
描边:
内发光:
光泽:
9、确定后得到下图所示的效果。
10、按Ctrl + J 把当前文字图层复制一层,清除图层样式后再重新设置。
斜面和浮雕:
等高线:
11、确定后把填充改为0%,效果如下图。

2019-03-27 09:51

2019-03-15 17:06

2019-02-27 11:56

2019-02-14 17:10

2019-01-26 16:48